NUS · EG1311 Design & Make · Feb, Mar 2025
Autonomous Obstacle-Course Robot
The course was a 3cm bump, a 10cm slope and a 30cm wall. The robot had to cross all of it, stop at the wall, launch a ping-pong ball over it and reverse back to the start, with no human input. A team of us designed and built it: laser-cut wheels, a polypropylene chassis, a servo catapult and the firmware.
01Sensing instead of counting seconds
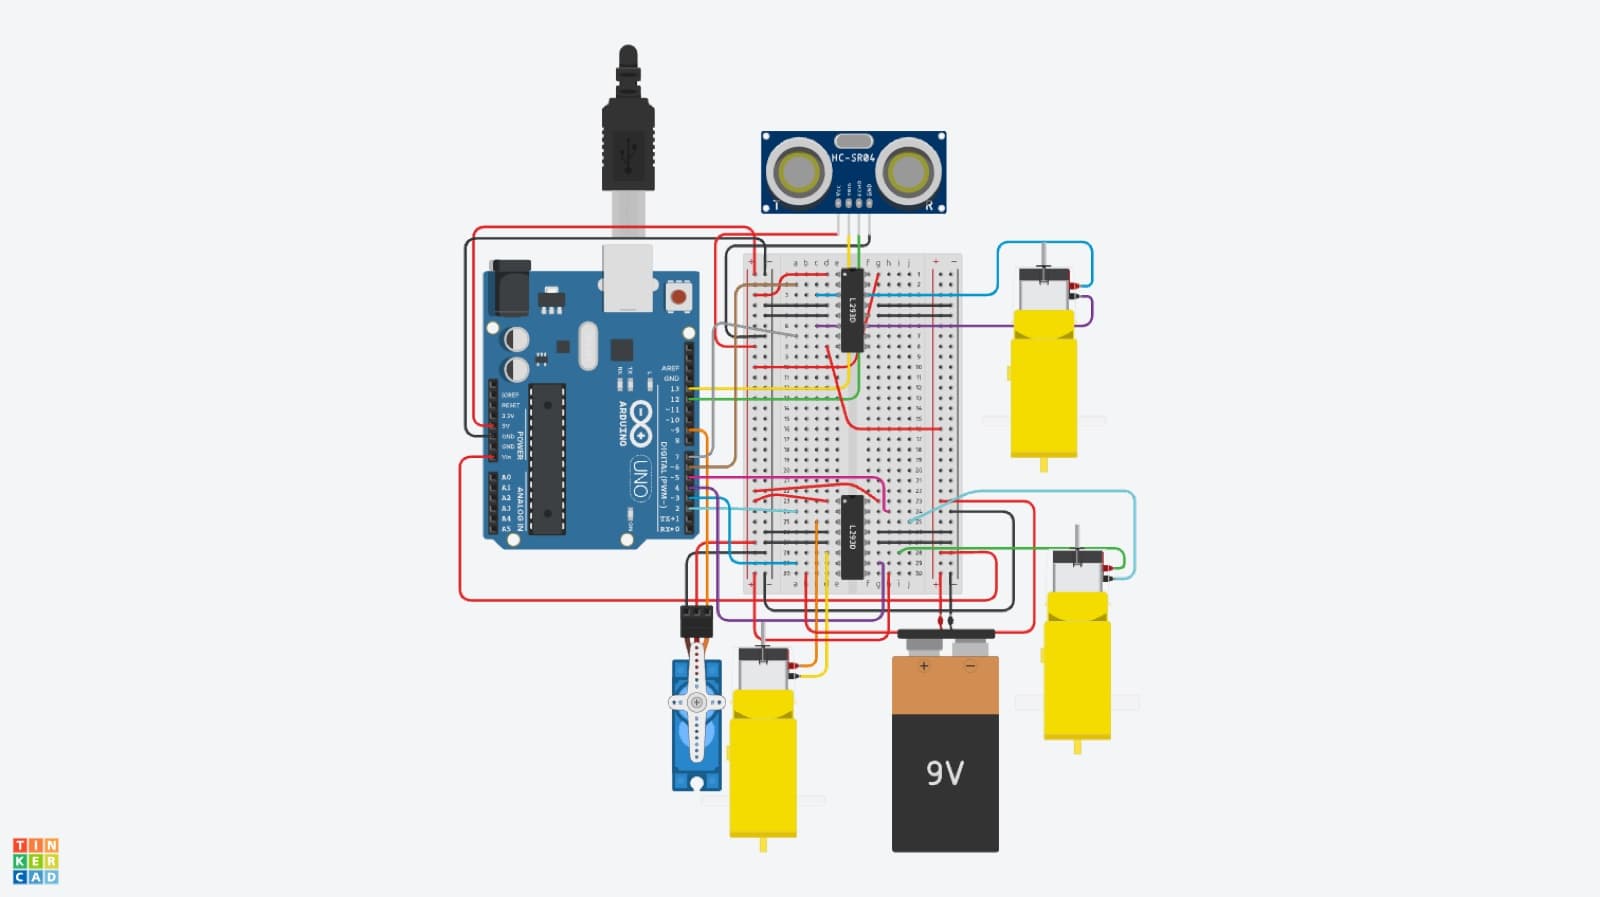
The easy version of this drives forward for a fixed time and fires. It fails as soon as the carpet grips differently or the battery sags, because it has no idea where it actually is. Instead the robot pulses an HC-SR04 ultrasonic sensor every loop, times the echo, and converts it to a distance. When the reading enters a narrow band near the wall it stops, waits three seconds for the chassis to settle, sweeps the servo to launch, then reverses.
Mounting that sensor was its own problem. Too low and the bump or the ramp reads as an obstacle and the robot stops halfway through the course. We raised it on a propylene board braced with two ice-cream sticks, which is not elegant and worked perfectly.
02Four wheels before one worked
Cardboard wheels at 8cm could not get over the 3cm bump: too small to carry the robot up and over. Laser-cut acrylic at 10cm cleared the bump and ran straight, being identical to each other, but slid helplessly on the slope because acrylic on a ramp has almost no grip. Rubber bands added traction and then peeled off, since the surface is too smooth for hot glue to hold. Anti-slip mat strips finally stuck and gripped, and that was the wheel we ran.
The ball holder went through the same loop. Flat, the ball fell out whenever the robot tilted. We ended up tilting the holder past 90 degrees from its launch angle, raising it, and giving the rim a curved inward lip: stiff enough to hold the ball through the bumps, soft enough to release it when the servo fires.
03When the fix is mechanical
The robot kept veering right. The cause was not the code: the front-right motor was simply weaker than the other two. We tested motor speeds to confirm it, then corrected it by angling both front wheels very slightly left so the drift cancelled out. A software fix would have been more satisfying and a lot slower.
Power was the other one. A 9V for the Arduino plus a separate 6V AA pack for the motor driver looked sensible and produced motors that stuttered or refused to spin, because the pack could not deliver enough current. Running a single 9V in parallel to both fixed it and simplified the circuit. Loose twisted wires shorting on the breadboard got replaced with a proper detachable connector.
next project
EduCrypto →